Elecraft KX3 Transceiver
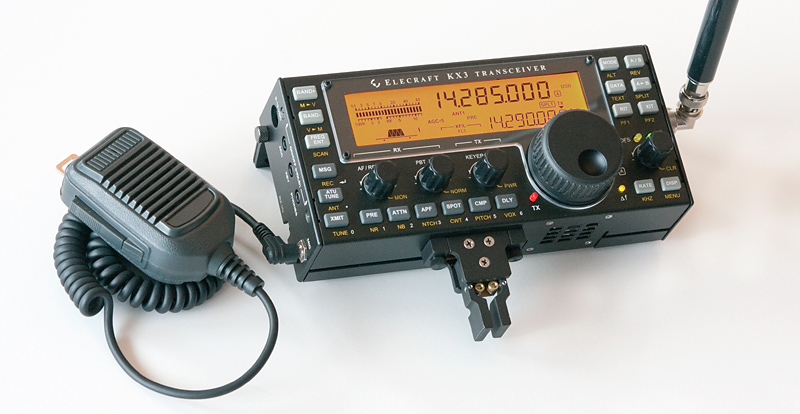 KX3 160 - 6 m, High Performance All-Mode Transceiver.
QRP and loving it!
Yes. I have one of these, too! A fun-tastic qrp SDR radio.
And yes! I am still biased. Who would have thought operating QRP is still so much fun. This radio is
definitely another winner for Elecraft. There is so much packed into these little rigs. Amazing!
This rig is absolutely fantastic to operate qrp portable. I have used this radio when operating kite portable.
It took less than ten minutes to pull up in one of my regular car park spots, unpack and launch a kite for 160m,
connect an earth stake, end fed half wave coupler, pull out the deck chair, connect the KX3 to battery, external
speakers and coax to the coupler, check swr and go! Sit back and have fun. Actually less than ten minutes, when the weather is good.
The same goes for other bands, whether kite portable, squid pole vertical, buddipole or long wire with the inbuilt tuner.
As with the K3, when purchasing one of these KX3 units, you have a choice of buying a pre-built and tested transceiver with the options you want at time of ordering,
or have them supplied in kit form (only assembly required). Costs are listed on the Elecraft website for either options.
I would recommend the internal ATU (KXAT3) and the internal roofing filter (KXFL3). There is an optional internal NiMH battery charger available
but I chose not to purchase this option, rather, I purchased the precision keyer paddle (KXPD3)[recommended]. I'm waiting for the soon to be released
internal 2m module (KX3-2m). Soon ......
|
KX3 portable, listening to WIA broadcast on 40m ham band, with battery power and portable stereo extension speakers. |
|---|
CW decoding
The cw decoding with scrolling text on the display, works the same as the K3. I haven't decoded any RTTY as yet, but the KX3 is supposed to decode this mode as well. Headphones are highly recommended, to reduce power consumption and for better receive signal clarity.
Home made mounting bracket
After building my KX3 from an optioned kit purchase, I decided to build a custom mounting bracket to suit my needs. Looking at the radio, I made up a cardboard mock-up to suit the shape of the radio with clearance for the KXPD3 paddle. Once I was happy with the design, I made the mount from aluminium and rubber with a steel insert for the retaining screw. After trial fitment, the aluminium went to the anodisers for the final black coating. When re-assembled and re-fitted with the adhesive backed rubber pads, an additional thread and location pin hole was provided for the quick release mount attachment. Add the handle and secure with countersunk screws and we were good to go!
Paper design stencil

Cutouts of first draft from paper ready to make a thin cardboard template.
Finished bracket #1

Finished bracket, black anodised, front view.
Finished bracket #2

Finished bracket - rear top view.
Bracket fitted to KX3 #1

Photo shows bracket and internal speaker clear from bracket.
Bracket fitted to KX3 #2

Finished bracket - top view, with feet extended.
Finished bracket #3

Finished bracket showing rubber pressure pads.
Quick release attachment
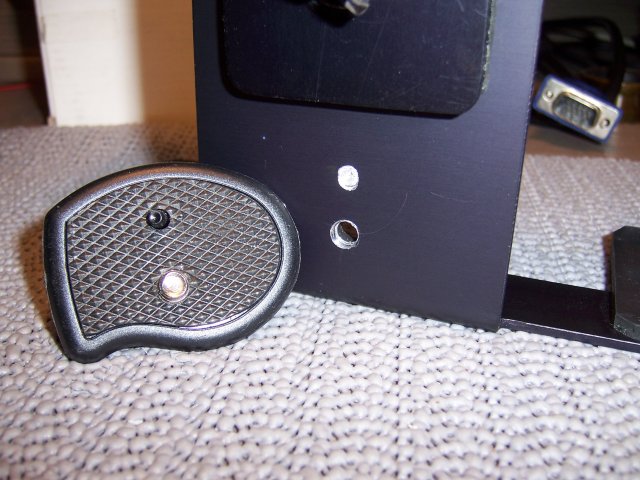
Attachment, screw thread and locating pin hole.
Quick release mechanism
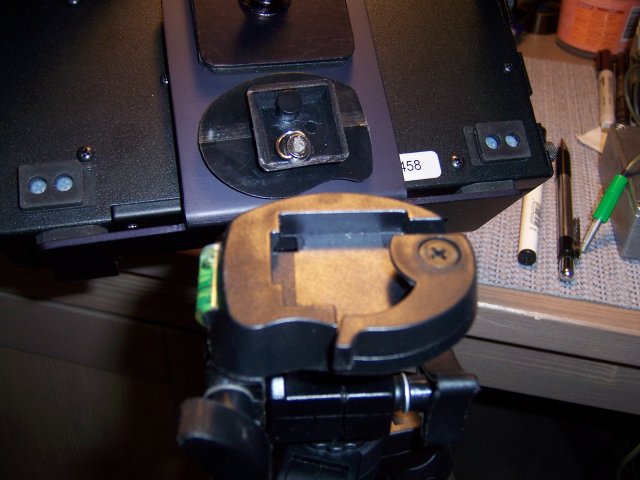
Quick release attachment and tripod locator.
KX3 with bracket fitted
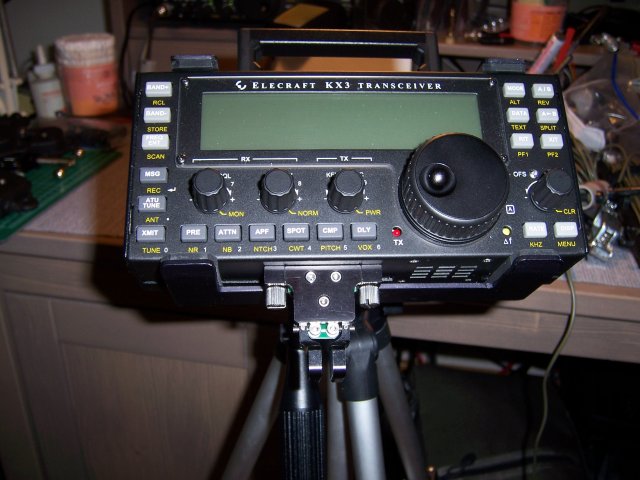
KX3 and bracket fitted to camera tripod assembly.
I've included some dimensions of the original bracket in a hand drawn PDF file for those who are interested in trying to build their own. Dimensions are in millimetres. I recommend you check the final dimensions and fitment before drilling any holes. YMMV.
- Home-made KX3 bracket dimensions (PDF):
Third party option
Once I saw them, I had to have a set. There is a kit available for the direct replacement of the side panels of the KX3, which allows fitment of the supplied smoked Lexan protective cover. This kit is worth considering, especially if you intend taking your new KX3 "out in the wild". It's not a waterproof solution, but it will protect the unit during transport. The side panels take about five minutes to changeover and the cover is a cinch to fit and remove. The quality is fantastic. See the link below for further details.
Side covers attached.
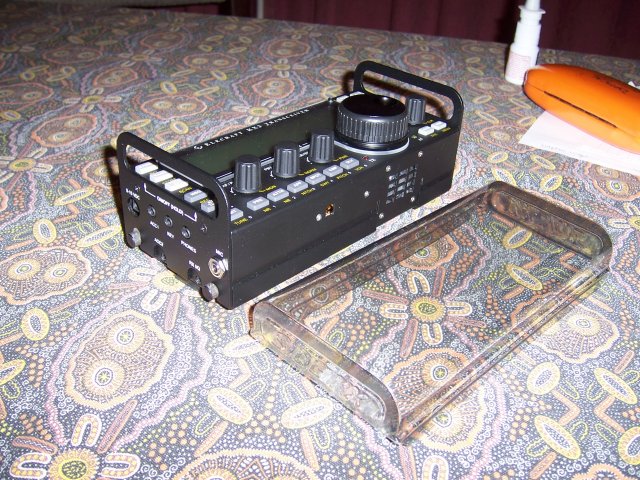
New side covers attached.
Lid's on.
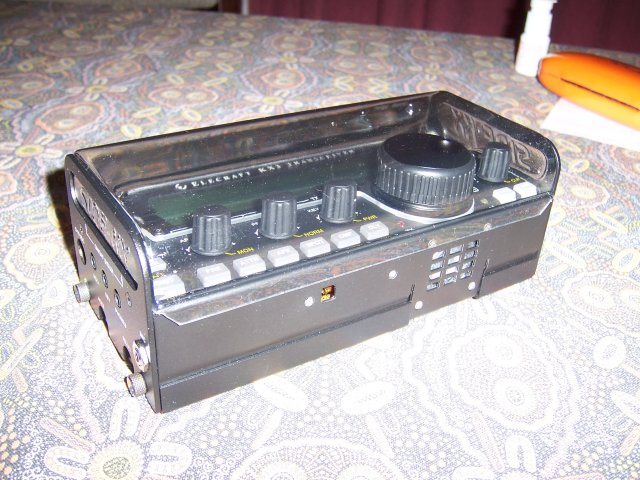
Lid is a snap to fit.
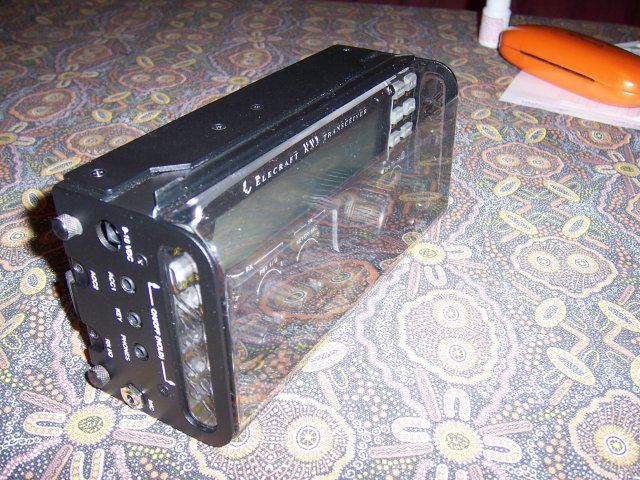
Side view

Lexan molded cover fits into side panels - neat!
Other side view
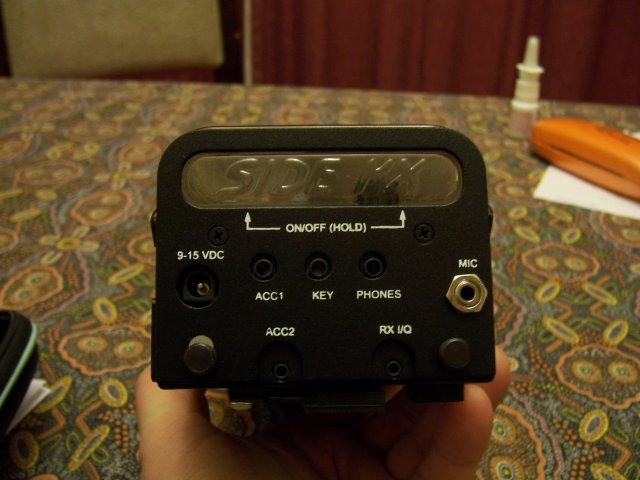
Showing the quality of the panel and lettering.
Final view
Quite stable with the side panels and good vfo knob clearance.
Note:
I can't fit the cover with my home made bracket attached without modifying the cover and I don't want to do that. The extra height in the sides is no problem for my bracket. Just, that the "fingers" which hold the KX3, interfere with the top and bottom lip of the cover.. Bugga! I use the cover during transport - ok, no worries. Just have to take off the bracket to attach the lid for the ride home. This is fairly easily done. Just one wingnut. Oh, well....
Useful Links
- Elecraft product range, specifications and prices:
- Side panels and Lexan cover for the KX3 available at: